

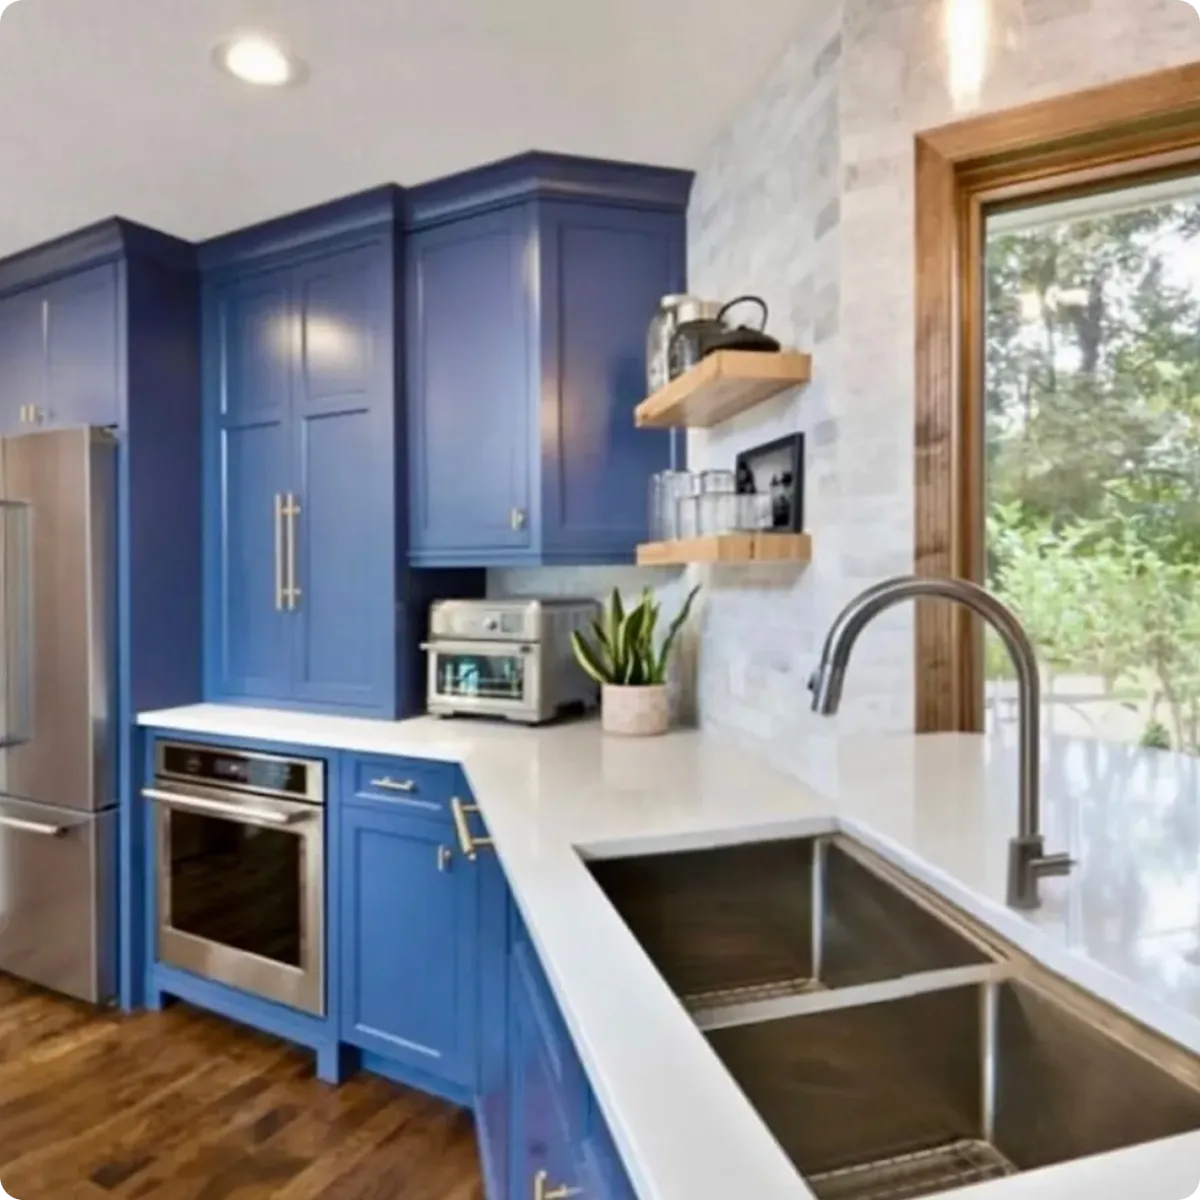
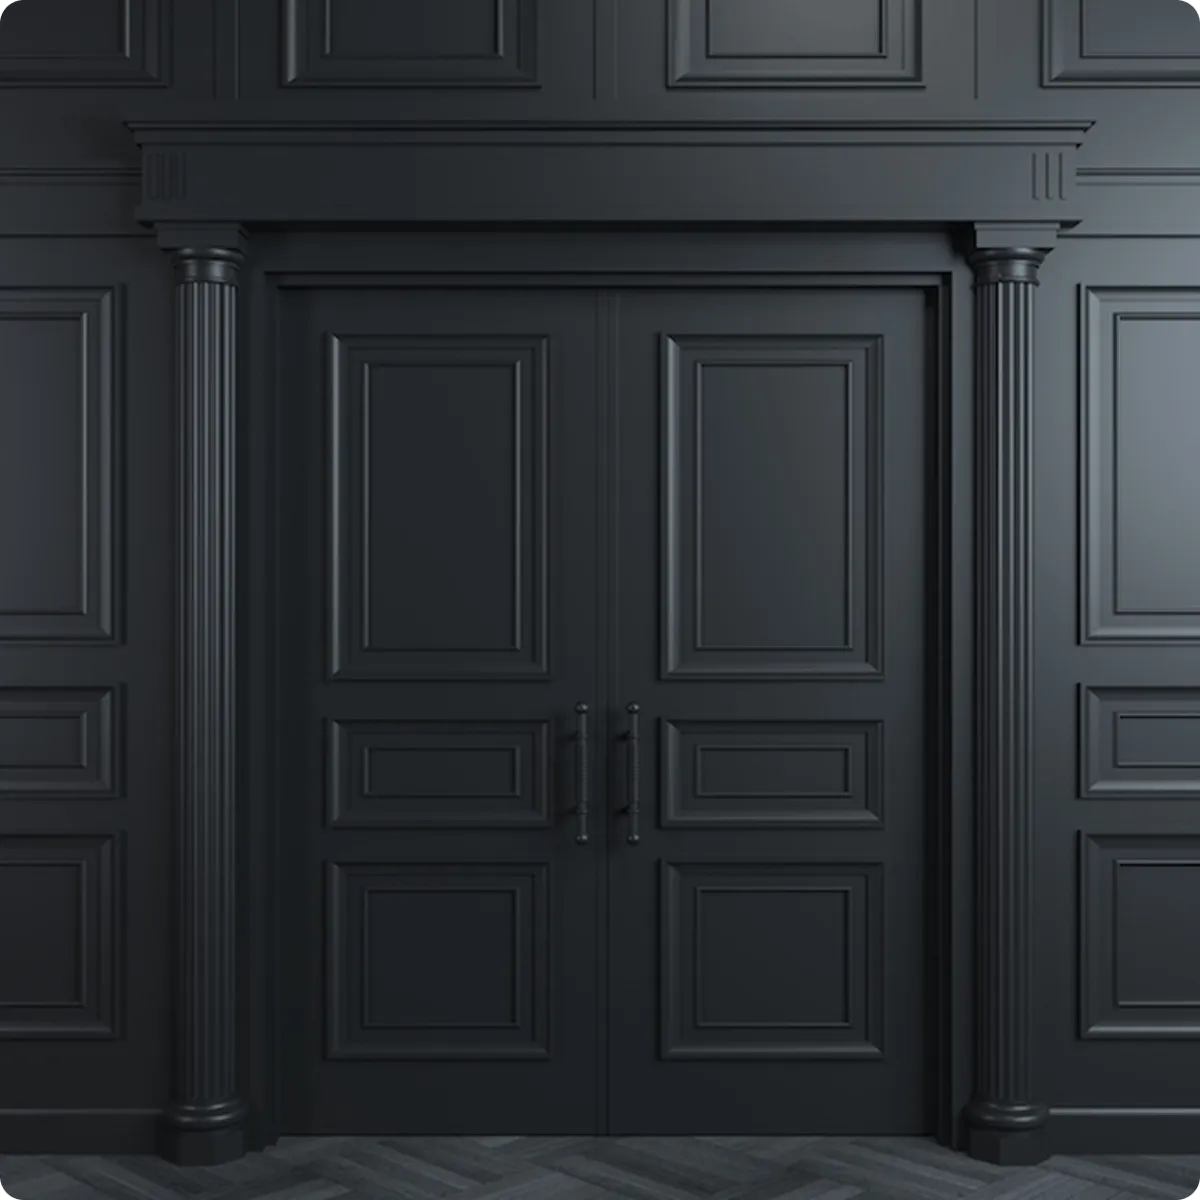
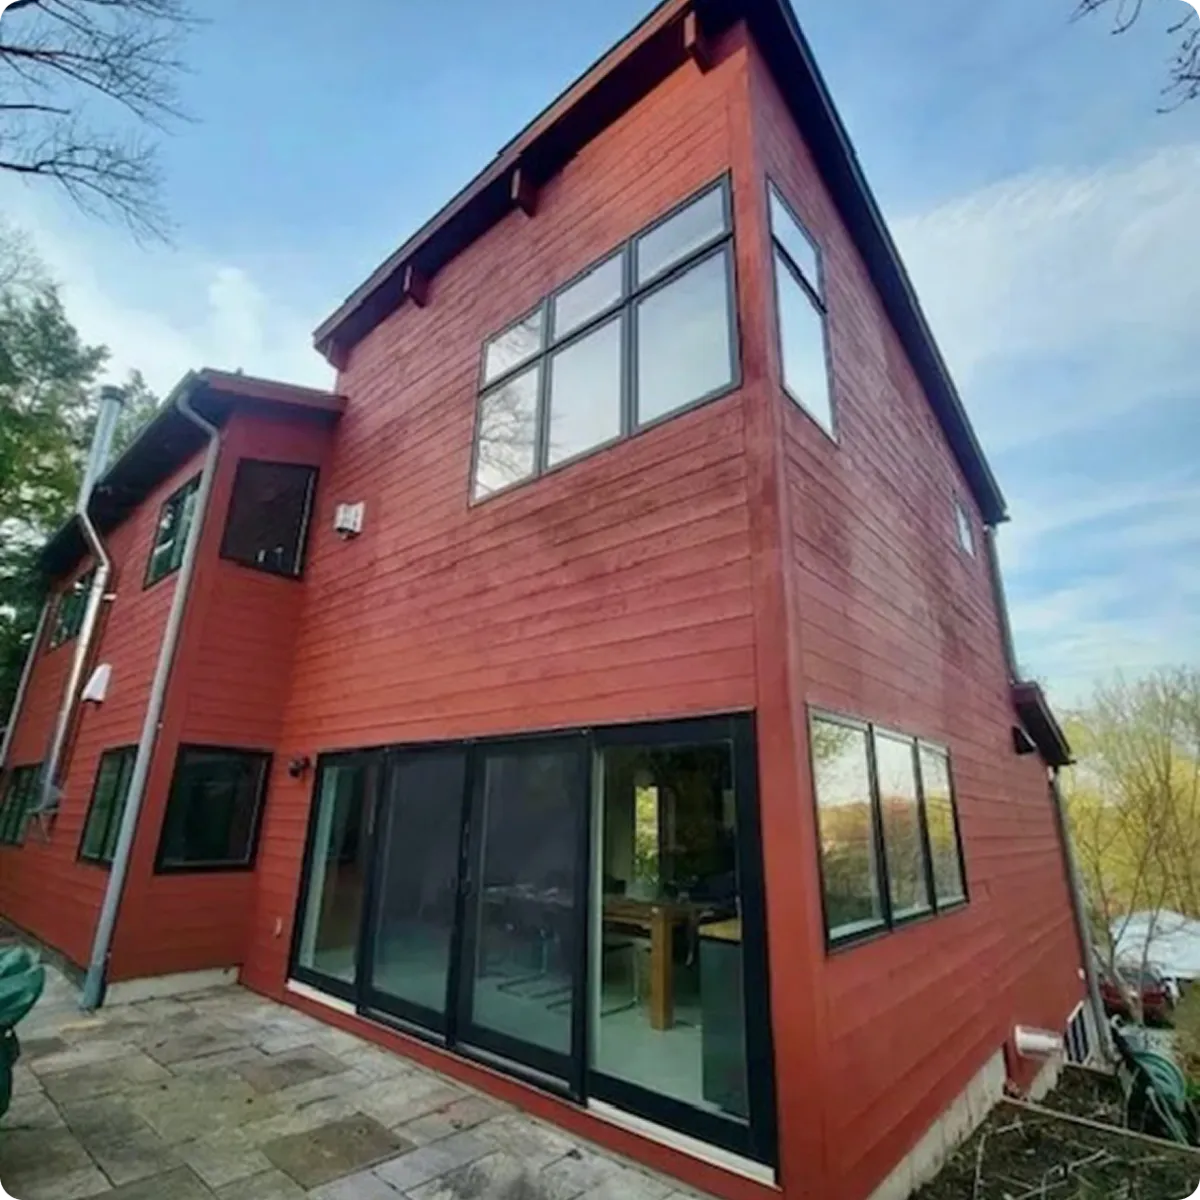
Bring New Life To Your Space With Our Renovation Expertise
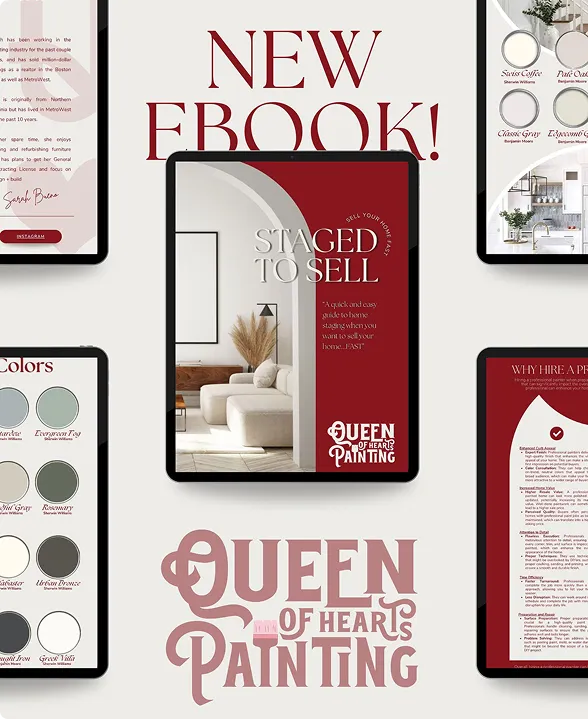
Staged To Sell Ebook
Information and Tips
From The Owner of a Painting Company with Design Experience And A Background in Luxury Real Estate; Here is a Free Ebook with Tips For When You Sell Your Home.
Click download to receive your free e book.
Self-Book An Estimate For Your Project Today
Explore Our Wide Range Of Services Designed To Meet Your Specific Needs.
Licensed & Insured In The State Of Massachusetts | MA HIC #211404
"Very professional service and job well done"
2024
“Sarah and her team were quick and professional. Would use again”
2025
“Rafael did a phenomenal job painting my home. Very impressed with the process from start to finish. I have recommended him to everyone I know”
2024
“We liked them so much that we had them come back a second time and help us with more projects at our house. They are communicative, timely, and honestly the whole crew are just very nice people to work with. We would definitely work with them again”
2024
“I highly recommend Queen of Hearts painting. Sarah and Rafael are great to work with. Communication was clear and prompt. The whole crew is very hardworking and punctual. We had a great experience with them and the job exceeded our expectations!”
2024
Nothing but the utmost professionalism and promptness. Their attention to detail, willingness to listen and work with you is fantastic. In a world where customer service is often talked about but rarely executed on, they are breath of fresh air to work with. HIGHLY Recommend!
2025
"Very professional service and job well done"
2024
“Sarah and her team were quick and professional. Would use again”
2025
“Rafael did a phenomenal job painting my home. Very impressed with the process from start to finish. I have recommended him to everyone I know”
2024